
 EN
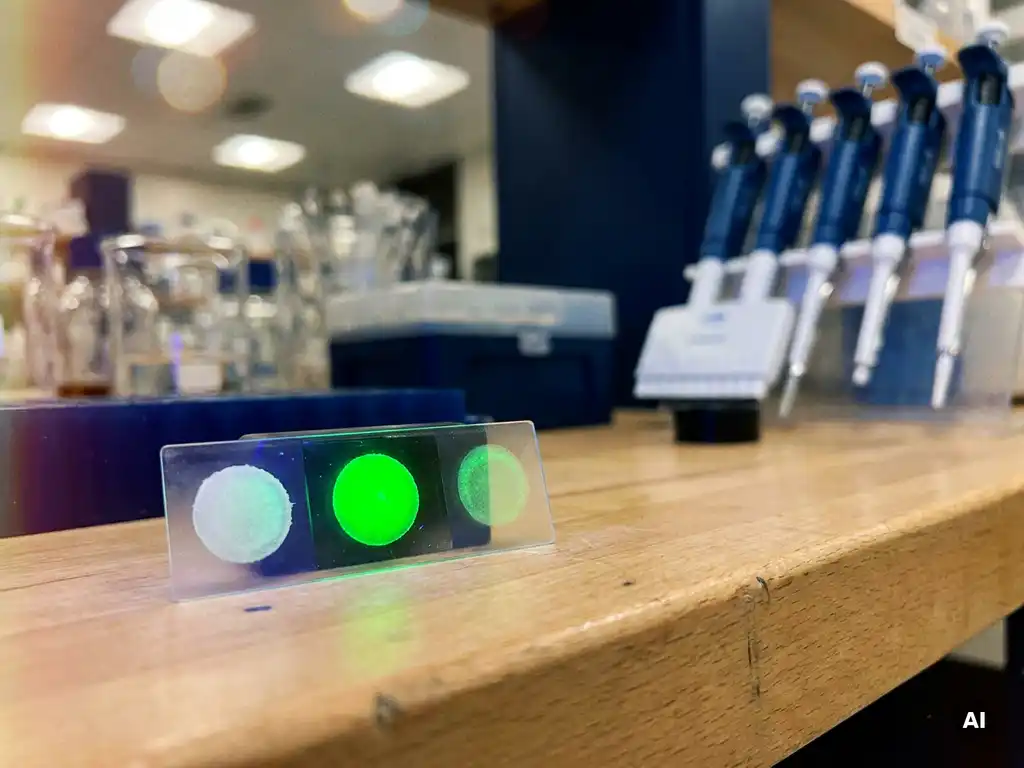
Photobleaching directly compromises the accuracy of fluorescence-based molecular interaction measurements by permanently destroying the fluorescent signal from labeled molecules. When a fluorophore absorbs too much excitation light, it undergoes irreversible chemical degradation, causing signal loss that can be mistaken for a real biological event. Understanding how photobleaching behaves is essential for any researcher relying on fluorescence data to draw valid conclusions about molecular dynamics.
The following sections address the most common questions researchers raise about photobleaching, from its chemical basis to practical strategies for controlling or exploiting it in the laboratory.
What actually happens to a fluorophore during photobleaching?
Photobleaching occurs when a fluorophore absorbs photons and undergoes an irreversible photochemical reaction that permanently destroys its ability to emit fluorescence. The molecule transitions into a long-lived triplet excited state, where it reacts with molecular oxygen or other reactive species to form products that no longer fluoresce. Once bleached, the fluorophore cannot recover.
The process is cumulative and stochastic. Each excitation event carries a small probability of triggering bleaching, meaning that the more intensely or frequently a fluorophore is illuminated, the faster it degrades. Factors such as oxygen concentration, the chemical environment of the sample, and the intrinsic photostability of the fluorescent dye all influence how quickly bleaching occurs.
Different fluorescent dyes and fluorescent proteins vary considerably in their resistance to photobleaching. Some organic dyes are engineered with high photostability, while many fluorescent proteins bleach relatively quickly under continuous illumination. Researchers working with live-cell imaging or long-duration assays need to account for these differences when selecting labels for their experiments.
Which fluorescence-based assays are most vulnerable to photobleaching?
Assays that require prolonged or repeated illumination of the same field of view are most vulnerable to photobleaching. These include time-lapse fluorescence microscopy, FRET (Förster resonance energy transfer) measurements, FRAP (fluorescence recovery after photobleaching) experiments, and any assay that tracks single molecules over time.
In FRET experiments, photobleaching of the donor or acceptor fluorophore directly distorts the apparent energy transfer efficiency, making it difficult to distinguish genuine molecular proximity from fluorescent dye degradation. In single-molecule fluorescence studies, bleaching events can terminate observation prematurely, introducing bias into kinetic measurements.
Assays conducted on fixed samples are also at risk, particularly when high laser powers are used during confocal or structured illumination microscopy. Even widefield fluorescence imaging can cause significant signal loss if acquisition times are long or if the same region is imaged repeatedly without anti-fade protection.
How does photobleaching distort molecular interaction data?
Photobleaching distorts molecular interaction data primarily by creating artificial signal loss that mimics or masks real biological changes. If a fluorophore bleaches during a binding or dissociation measurement, the apparent decrease in fluorescence may be incorrectly interpreted as a change in molecular interaction rather than fluorescent dye degradation.
In FRET-based interaction assays, unequal bleaching of the donor and acceptor introduces errors in the calculated FRET efficiency. A bleached acceptor will cause the donor signal to increase, falsely suggesting that the two molecules have moved apart. Conversely, a bleached donor will suppress the apparent FRET signal entirely, making an interaction appear weaker than it actually is.
Photobleaching artifacts also affect quantitative colocalization analyses in fluorescence microscopy. If two channels bleach at different rates, the apparent degree of colocalization will shift over time even if the underlying molecular distribution has not changed. This is a particularly important consideration in multicolor imaging experiments where different fluorescent dyes are used simultaneously.
In high-throughput plate-based assays, uneven illumination across a well combined with differential bleaching can introduce systematic errors that are difficult to detect without appropriate controls. Researchers working in cellular analysis workflows should incorporate bleaching controls and reference standards to distinguish genuine signal changes from photodegradation artifacts.
What’s the difference between photobleaching and phototoxicity?
Photobleaching and phototoxicity are related but distinct phenomena. Photobleaching refers to the irreversible destruction of a fluorophore’s ability to emit light, affecting the measurement itself. Phototoxicity refers to light-induced damage to living cells or organisms, affecting the biological sample being studied.
The two can occur simultaneously and are often linked. The same reactive oxygen species generated during fluorophore photobleaching can damage cellular components including lipids, proteins, and nucleic acids, leading to phototoxicity. However, they do not always scale together. A sample can experience significant phototoxicity at light doses that cause relatively little photobleaching, particularly when photosensitive cellular structures absorb excitation light directly.
For researchers conducting live-cell fluorescence imaging, both effects must be managed in parallel. Minimizing photobleaching through reduced illumination intensity also tends to reduce phototoxicity, but additional measures such as antioxidant supplementation in the imaging medium or the use of more photostable labels may be needed to protect cell viability over extended imaging periods.
How can photobleaching be minimized in fluorescence experiments?
Photobleaching can be minimized through a combination of instrument settings, sample preparation strategies, and careful choice of fluorescent labels. No single approach eliminates bleaching entirely, but together these measures can substantially extend the usable signal lifetime.
- Reduce excitation intensity: Use the lowest laser or lamp power that still produces an adequate signal-to-noise ratio. Bleaching rate increases nonlinearly with illumination intensity.
- Limit exposure time: Acquire images with the shortest possible exposure and increase detector sensitivity instead of increasing illumination.
- Use anti-fade reagents: For fixed samples, mounting media containing anti-fade compounds significantly slow photobleaching by scavenging reactive oxygen species.
- Oxygen depletion systems: In live-cell or single-molecule experiments, enzymatic oxygen scavenging systems can reduce the concentration of molecular oxygen that drives bleaching reactions.
- Select photostable fluorophores: Choose fluorescent dyes or fluorescent proteins with documented high photostability for applications requiring prolonged or repeated imaging.
- Minimize unnecessary illumination: Avoid leaving the excitation source active when not acquiring data, and use hardware or software shuttering to restrict illumination to acquisition intervals only.
In multicolor experiments, bleaching rates should be characterized for each fluorophore under the specific imaging conditions used, so that any signal loss can be corrected during data analysis.
When should photobleaching be used intentionally in an experiment?
Photobleaching is used intentionally in FRAP experiments, where it serves as a controlled perturbation to measure molecular mobility and dynamics. In FRAP, a defined region of interest is deliberately bleached with a high-intensity laser pulse, and the rate at which fluorescence recovers as unbleached molecules diffuse into the region reveals information about molecular diffusion coefficients, binding kinetics, and the mobile fraction of a labeled population.
Intentional photobleaching is also applied in FLIM-FRET (fluorescence lifetime imaging microscopy combined with FRET) experiments to confirm donor-acceptor interactions. Bleaching the acceptor fluorophore selectively and observing the resulting increase in donor lifetime provides direct evidence of FRET and, by extension, of close molecular proximity.
A related technique, fluorescence loss in photobleaching (FLIP), uses repeated bleaching of a specific region to assess connectivity between cellular compartments. If fluorescence in a distant region decreases over time as a nearby region is repeatedly bleached, this suggests that molecules are exchanging between the two compartments.
These intentional bleaching approaches turn a potential artifact into a quantitative tool, making photobleaching one of the more versatile phenomena in the fluorescence imaging toolkit when applied with appropriate experimental design.
How BioSPX supports fluorescence imaging research in the Benelux
Managing photobleaching and obtaining reliable fluorescence data requires the right combination of instrumentation, reagents, and expertise. BioSPX supports research teams across Belgium, the Netherlands, and Luxembourg with instruments and guidance specifically suited to fluorescence-based molecular interaction measurements. The portfolio includes:
- Multimode readers and imaging systems designed for sensitive fluorescence detection with precise illumination control
- Cellular and molecular analysis platforms suited to FRET, FRAP, and live-cell fluorescence workflows
- Expert product specialists who advise on instrument configuration, fluorophore selection, and experimental design to minimize photobleaching artifacts
- Installation, user training, and after-sales support from a dedicated service team
Whether you are setting up a new fluorescence assay or troubleshooting signal loss in an existing workflow, the team at BioSPX can help you identify the right approach for your specific research context. Contact BioSPX to discuss your fluorescence imaging requirements with a specialist.
Frequently Asked Questions
How do I know if signal loss in my fluorescence experiment is due to photobleaching or a real biological event?
The most reliable way to distinguish photobleaching from a genuine biological change is to include a non-dynamic control — a fixed sample or a region of interest where no molecular changes are expected — and monitor its fluorescence signal under identical illumination conditions. If the control sample shows signal decay that mirrors your experimental sample, photobleaching is the likely culprit. You can also perform a step-photobleaching analysis on single-molecule data, where true bleaching appears as discrete, irreversible signal drops, whereas biological dissociation events may show reversibility or different kinetic signatures.
What are the most common mistakes researchers make when trying to reduce photobleaching?
One of the most frequent mistakes is compensating for reduced illumination intensity by dramatically increasing acquisition time, which can actually deliver a similar or greater total photon dose to the sample and accelerate bleaching. Another common error is assuming that anti-fade mounting media suitable for fixed samples will protect live-cell preparations — most commercial anti-fade reagents are cytotoxic and cannot be used in live imaging. Finally, researchers often overlook the cumulative effect of autofocus routines, preview scans, and repeated region-finding passes, all of which expose the sample to excitation light before the actual experiment even begins.
Which fluorescent proteins are considered the most photostable for long-duration live-cell imaging?
Among commonly used fluorescent proteins, mScarlet-I and mRuby3 offer relatively high photostability in the red spectrum, while mNeonGreen and mClover3 are well-regarded in the green channel. For applications demanding exceptional photostability, some researchers turn to engineered variants such as monomeric Kusabira-Orange 2 (mKO2) or the Dendra2 photoconvertible protein used in specific pulse-chase formats. That said, photostability is highly context-dependent — the same fluorescent protein can bleach at very different rates depending on the illumination system, oxygen environment, and intracellular compartment, so empirical testing under your specific conditions is always recommended before committing to a label for a long-term experiment.
Can photobleaching correction be applied during data analysis, and how reliable is it?
Post-acquisition photobleaching correction is possible and widely used, typically by fitting an exponential decay curve to a reference region or a non-dynamic control and using that decay function to normalize the experimental signal over time. However, this approach assumes that bleaching is uniform across the field of view and that all fluorophores bleach at the same rate, which is often not the case in practice — particularly in heterogeneous samples or multicolor experiments. Correction algorithms can reduce systematic error but cannot fully recover information lost to bleaching, so they should be treated as a complementary measure rather than a substitute for minimizing bleaching at the acquisition stage.
How should I set up proper controls for a FRET experiment to account for photobleaching artifacts?
For FRET experiments, you should include at minimum three control conditions: a donor-only sample, an acceptor-only sample, and a sample where donor and acceptor are physically linked at a known distance (positive control). The donor-only and acceptor-only controls allow you to characterize the individual bleaching rates of each fluorophore under your imaging conditions and to correct for spectral bleed-through. Performing an acceptor photobleaching step at the end of each FRET acquisition — and verifying that donor intensity increases as expected — provides an internal confirmation of genuine FRET and helps you distinguish true energy transfer from signal loss caused by donor bleaching.
Are there specific imaging modalities that are inherently less prone to causing photobleaching?
Yes — two-photon excitation microscopy confines excitation to a small focal volume, which significantly reduces out-of-focus photobleaching and can extend fluorophore lifetime in thick samples. Light-sheet fluorescence microscopy (LSFM) illuminates only the focal plane from the side, greatly reducing the total photon exposure compared to confocal or widefield systems. For single-molecule applications, total internal reflection fluorescence (TIRF) microscopy restricts excitation to a thin evanescent field near the coverslip surface, limiting bleaching to only the molecules actively being observed. Choosing the right imaging modality for your biological question is therefore one of the most impactful decisions you can make for managing photobleaching.
How does sample preparation affect photobleaching rates, and what steps can I take before imaging to reduce it?
Sample preparation has a substantial influence on photobleaching susceptibility. For fixed samples, the choice of mounting medium is critical — hard-set anti-fade media containing compounds such as DABCO, Mowiol, or commercial formulations like ProLong Diamond provide significantly better protection than aqueous buffers alone. For live-cell imaging, pre-equilibrating cells in antioxidant-supplemented media (such as Trolox-containing buffers) and reducing ambient oxygen levels where feasible can slow bleaching considerably. Minimizing the time between sample preparation and imaging also helps, as pre-bleaching during handling or storage under room light can deplete a portion of your fluorescent signal before the experiment even starts.
Related Articles
- How can spatially resolved functional data help validate cellular hypotheses?
- What is the role of donor lifetime in quantitative FLIM-FRET analysis?
- How does angiogenesis support tumor growth at the cellular level?
- How do oncogenes differ from tumor suppressor genes in cancer development?
- Can lifestyle changes actually reduce cancer risk?
This content was generated with the help of AI and it may contain mistakes